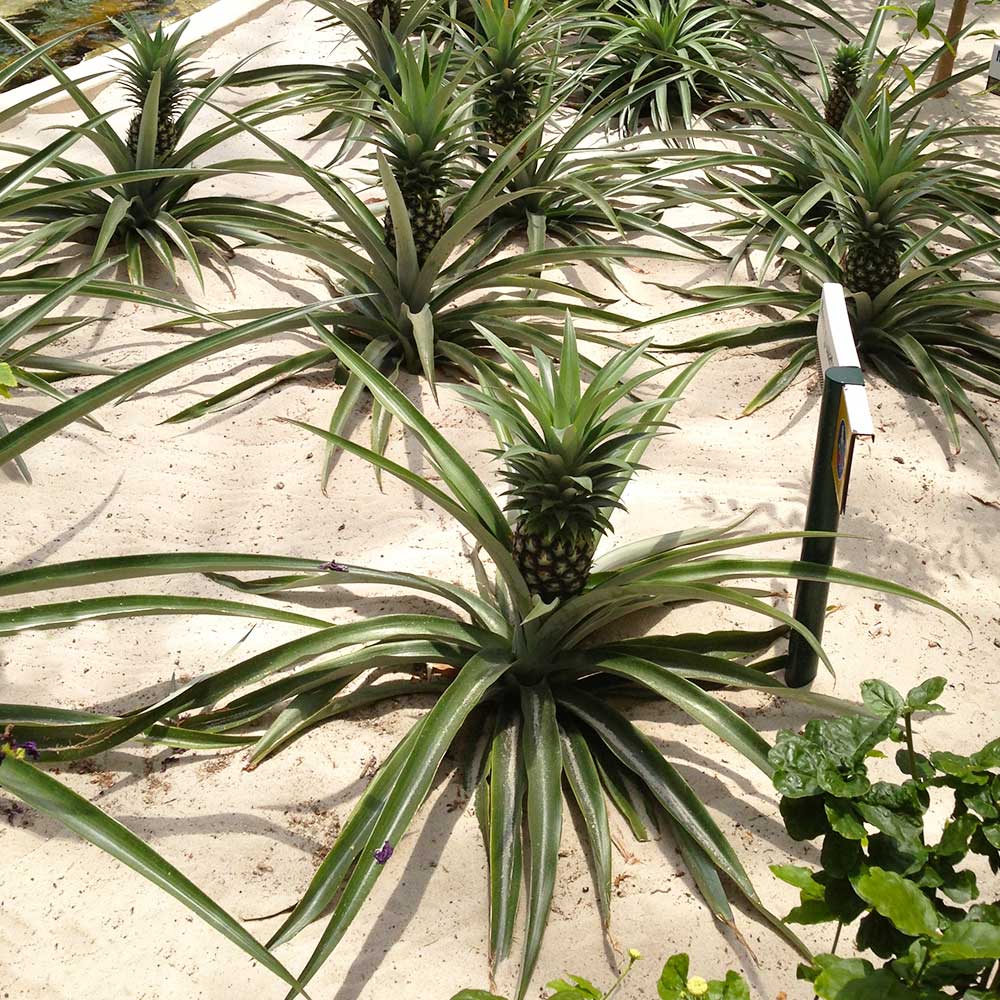
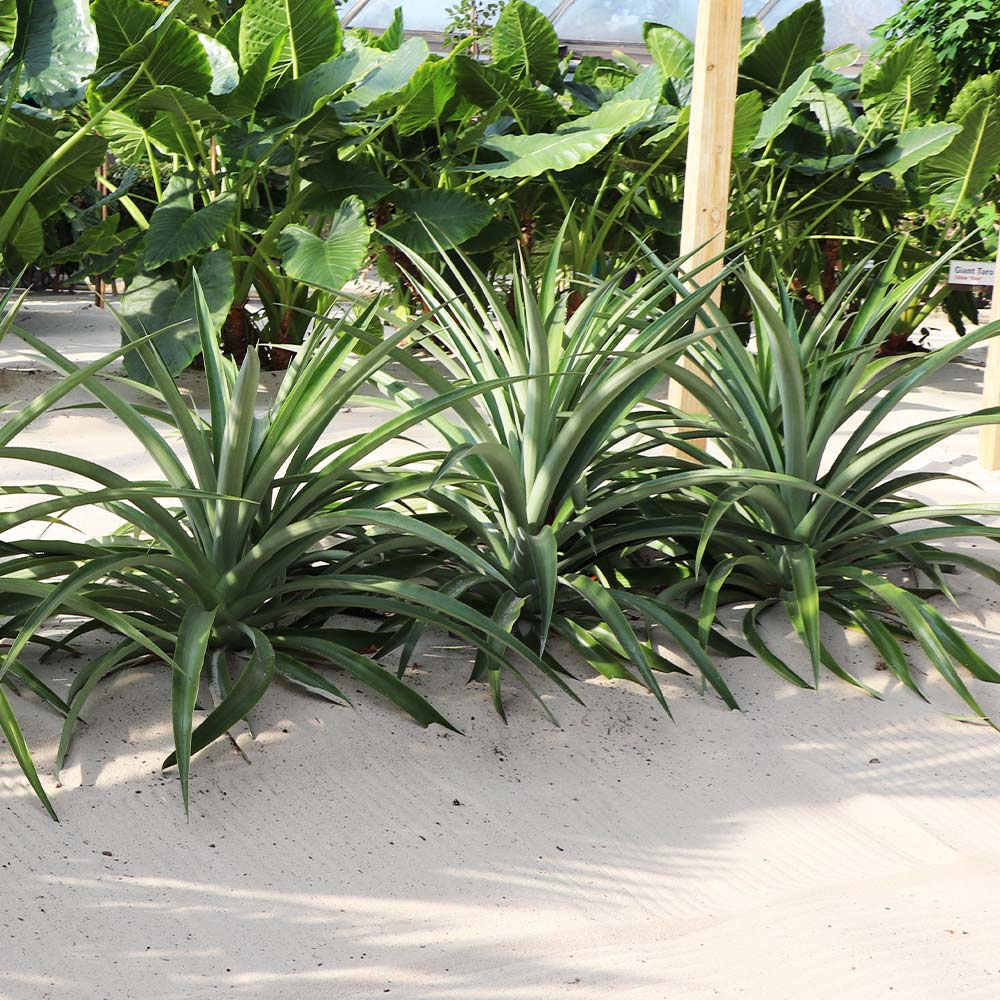
The Elite Gold Pineapple (Ananas Comosus ‘Elite’) is the most common variety of pineapple that you would typically find in your local supermarket. With the ability to be grown in a container if you are in USDA growing zones 4-11, or in-ground for zones 9-11, it makes it a plant that almost anyone can grow! Reaching mature heights of only 2 ½ to 3 feet tall and width of 3-4 feet, it’s small enough to fit in any tight space. The Elite Gold Pineapple is easy to grow, drought-tolerant and not picky about soil. They produce a central rosette with long, narrow leaves that have a sawtooth edge. Many purple-red flowers will bloom and as they fade look for small berries which will combine to create a pineapple. They are typically ready to harvest in early autumn and you’ll know when they are at their peak ripeness from the aroma that the pineapple gives off. Bite into the tender, golden flesh and notice the sweet, acidic taste packed with vitamin C and manganese.
Selecting a location: Location is a big deal with pineapples considering they require a minimum of 6 hours of sun a day. If you are planting the pineapple indoors, keep it in the absolute sunniest window of your home, most likely a south-facing window. When planting outside, pick the sunniest part of your yard, often the southern side.
Being a tropical, the pineapple cannot go below 60 degrees at any time. If you live in an area colder than this, you will need to bring your plant indoors over these days. During those frosty days, move your pineapple away from the window at night and close to the window during the day to maximize both heat savings and light exposure. If you do not have enough sun indoors, you can grow your plant under a grow light. For a grow light, you will want to give your pineapple 10 hours under it a day.
Note: This product grows best in well-draining soil. When you receive your plant, you may notice small, white beads or rocks in the soil - this medium is added to increase drainage and keep your plant happy and healthy!
Planting Directions (in ground):
1) To plant yours in the ground (which you should only be doing in Southern Florida, Texas and California), you need to dig a hole three times the size of your root ball and the same depth.
2) Use a shovel to loosen up the ground around the hole and remove any debris, like dirt clumps, grass, or rocks so that the pineapples surface roots can grow freely.
3) Remove the plastic container from your tree’s roots and gently comb through the root ball to free them up a bit.
4) Place your tree in the hole making sure that it’s level with the surrounding ground and that it is standing straight up.
5) Mix in an acidic planting mix with compost and sand to form the optimal soil. Take that mix and stir it into your hole with the dirt you are planning to backfill with.
6) Tamp down the soil as you backfill. This will cut back on any air pockets that may form.
7) Water the planting site to settle the soil completely and then mulch to conserve water moisture in the soil.
BONUS TIP: Peat Moss is a good additive if you need to raise the PH of your soil and a special transplant fertilizer will do wonders for your pineapple. Once in the ground give your plant a good soaking to help it with the transplant stress.
Planting directions (potted):
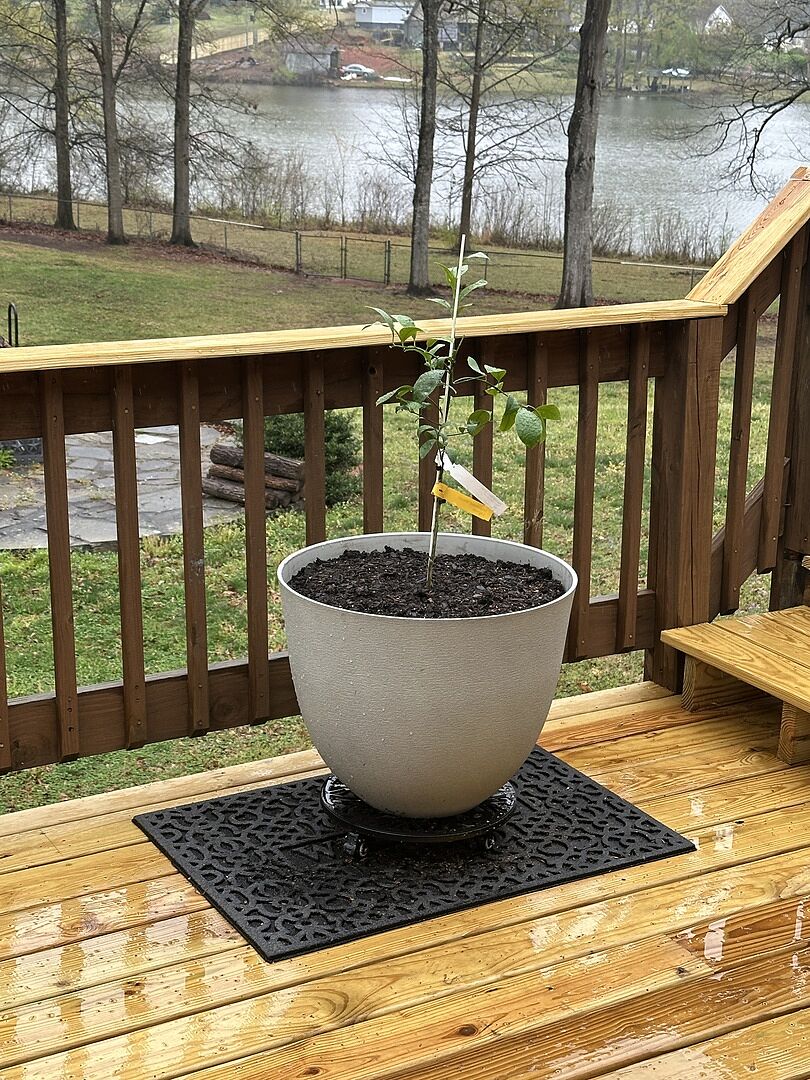
1) To plant in a pot, select a container that has good drainage.
2) To prevent the holes from getting clogged, place two inches of rocks at the bottom of your container.
3) Place a little bit of dirt down and then the plant on top of that. Place acidic planting mix with two handfuls of sand stirred in around the plant until it reaches the base.
4) Give it a thorough watering (until water trickles out of the holes). Remember to empty your drip tray after each watering so it does not collect water.
Watering: In the tropics you have a rainy season and a dry season. You should try to mimic this pattern when watering your pineapple. During the spring and summer time water your pineapple once a week with a moderate amount of water. Over the winter you can reduce watering to every 12 days.
The best way to know if you are watering your plant the right amount is to stick your finger into the soil to a depth of three inches. If it is dry down there, water. If three inches down or less is wet, let your plant dry out more before your next watering. Examining foliage is an excellent way as well. Your plant should always be a bright green, if it goes to yellow, change how you water. (Go to the troubleshooting section for a deeper explanation).
Fertilizer: The best fertilizer for your pineapple is a slow release 10-10-10 fertilizer formula. The slow release works the best for pineapples because it does not burn them like other fertilizers. If you want to give your plant a good head start, mix in your soil an additive containing beneficial bacteria or Mycorrhizal fungi (available for purchase in our Root Rocket stimulator). These act as a probiotic for your plant. A very important nutrient for pineapples is zinc. Ensure your fertilizer has zinc sulfate for best health. Avoid getting fertilizer on the new leaves and flowers so they are not irritated.
Weed Control: Weeds are little thieves that steal vital nutrients from your plants while at the same time crowding it out. Keep those pesky weeds away!
Pollination and Fruiting: Pineapples will fruit after their flowers fall off. Once you see a fruit, it will normally take about 5 months to ripen before you can eat it. You know your pineapple is ready to pick when it is a golden color all the way around. As for pollination, your pineapple will fruit by itself but will produce a lot better fruit with a second to pollinate it.
Picking: If you pick a pineapple just right you can get up to three years of fruiting off a single plant. The key here is removing the fruit at the precise spot. The first step is to sterilize the knife you plan to use on you pineapple. Just as surgeons use sterilized instruments on their patients you too MUST use a bacteria free knife to reduce the risk of infection for your patient (the pineapple). Rubbing alcohol is perfect for sterilization of your cutting tools.
Start by getting a firm grasp on the pineapple fruit with one hand (I recommend gloves so you don’t get poked). Next cut the fruit from the stem making sure to leave one inch of stem attached to the base of the pineapple fruit. Make sure you do not damage the remaining stem in the process. The second and third fruitings are a little bit tinier than the first but taste just as sweet! If you plan on getting a second year of fruit you will need to change out the old soil with a fresh, new bag of acidic planting mix with two handfuls of sand.
Troubleshooting: Pineapples are virtually disease resistant; so in the rare case you have an issue, read here to diagnose it.
Yellow or Brown Leaves:The most common cause of yellowing or brown tinged leaves is over watering. The best way to confirm this is the reason for the discolored leaves is to check the roots. Start by gently clearing away dirt from around the base of the plant until you reach the roots. If the roots are brown or mushy in texture, root rot has begun. Stop all watering until the plant corrects itself.
A less common cause of yellow leaves is drought. If you forget to water your plant for several weeks and the soil is dry 5 inches deep or more, give the plant a good soaking until water trickles out of the holes in the bottom of the pot. Like I said, your yellow leaves are almost always over watering as opposed to under watering.
Frost damage is a possible culprit for your leaves as well. Frost bitten leaves often are brown and starting to wilt. You need to cut those leaves off using a STERILIZED knife. Just as surgeons use sterilized instruments you too MUST use a bacteria free knife to reduce the risk of infection. To sterilize a knife soak the blade in a solution of 3 parts water and 1 part bleach for 5 minutes. After soaking, rinse the knife well in fresh water and dry thoroughly before cutting the affected leaves off.
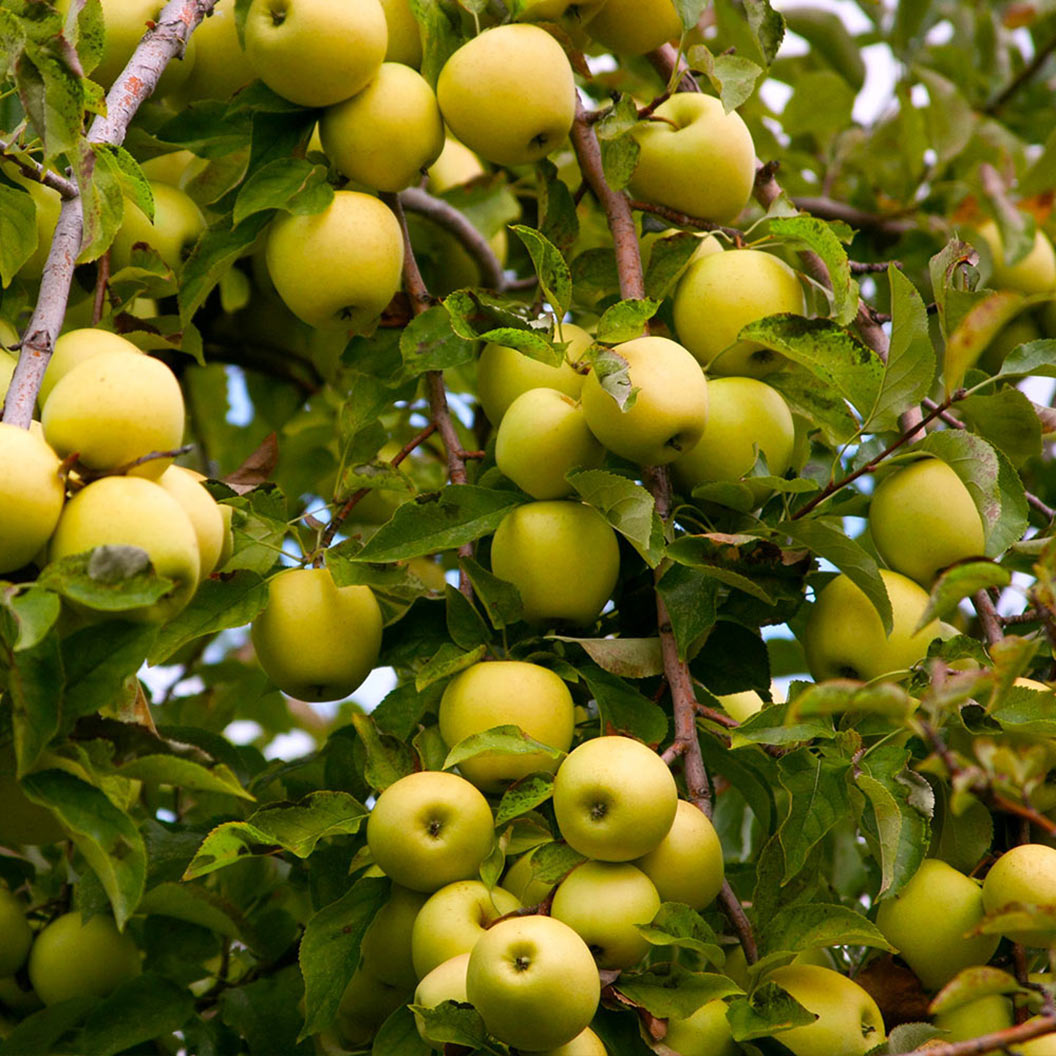
My pineapple has not fruited: If your pineapple has reached a height of 24 inches or higher and is 2 years old without fruiting you may need to induce fruiting. A trick the pro gardeners use is to place the plant in a clear garbage bag with two ripe & bruised apples for one week in early December. Move the plant to a SHADED area during this time. After one week is up, you can take the bag off and move it back to its sunny spot. The ripening apples produce ethylene gas that will induce flowering in the pineapple. Two months later you will begin to see a flower, which will lead to a fruit.
Curling, Twisting, Brittleness:A rare but treatable condition that sometimes affects pineapples is called crookneck. Pineapples LOVE zinc. If the soil does not have enough zinc to satisfy the plant, crook neck will set in causing the usually symmetrical plant to grow all spindly and horizontal. This often is accompanied by a yellow-green color and leaves that crunch with brittleness. Luckily treating the ailment is as easy as applying a 1% zinc sulfate solution to all of the foliage. If the first coat does not clear it up in a couple of days apply a second foliar coating.
Dying leaves after transplant: After your annual changing out of the soil, if your pineapple shows signs of transplant shock like dying leaves, try the following. Mix a transplant fertilizer in with the soil that contains nutrients and beneficial microbes specifically formulated for transplant health. Also moving your tree to partial shade until it gets better can help.
During the transplant stage pineapples can be ultra sensitive to watering; too much or too little can be a big deal at this stage. Watch your individual plant for cues on how it likes the amount of water you are giving it in order to adjust accordingly.
If more than 75% of the leaf is dead, remove it with a sterilized knife. Just as surgeons use sterilized instruments you too MUST use a bacteria free knife to reduce the risk of infection. To sterilize a knife soak the blade in a solution of 3 parts water and 1 part bleach for 5 minutes. After soaking, rinse the knife well in freshwater and dry thoroughly before cutting the dying leaves off.
Yellow Spots on the leaves: The yellow spots on your plant may be a virus called, you guessed it…“Yellow Spot Virus.” This virus is spread by a little insect called the Thrips tabacii. You can control the insects by applying an insecticidal soap every third day until the spots begin to either disappear or stop spreading. Treating other nearby plants, especially tomatoes and onions will ensure the insects don’t come back.
Floppy leaves with reddish/brown tips: You have mealy bugs. These tiny bugs are almost impossible to see without a magnifying glass, but don’t take these small guys as a small threat. Treat these like any other insect with an insecticidal soap giving extra attention towards coating all surfaces of the foliage. Insecticidal soap works by suffocating the bugs, so if they are not completely covered, they will not die.
Scale or Mites: These will look like little white or brown specks often on the underside of your leaves. Insecticidal soap sprayed how the directions of the particular kind you are using recommends is the best treatment.


