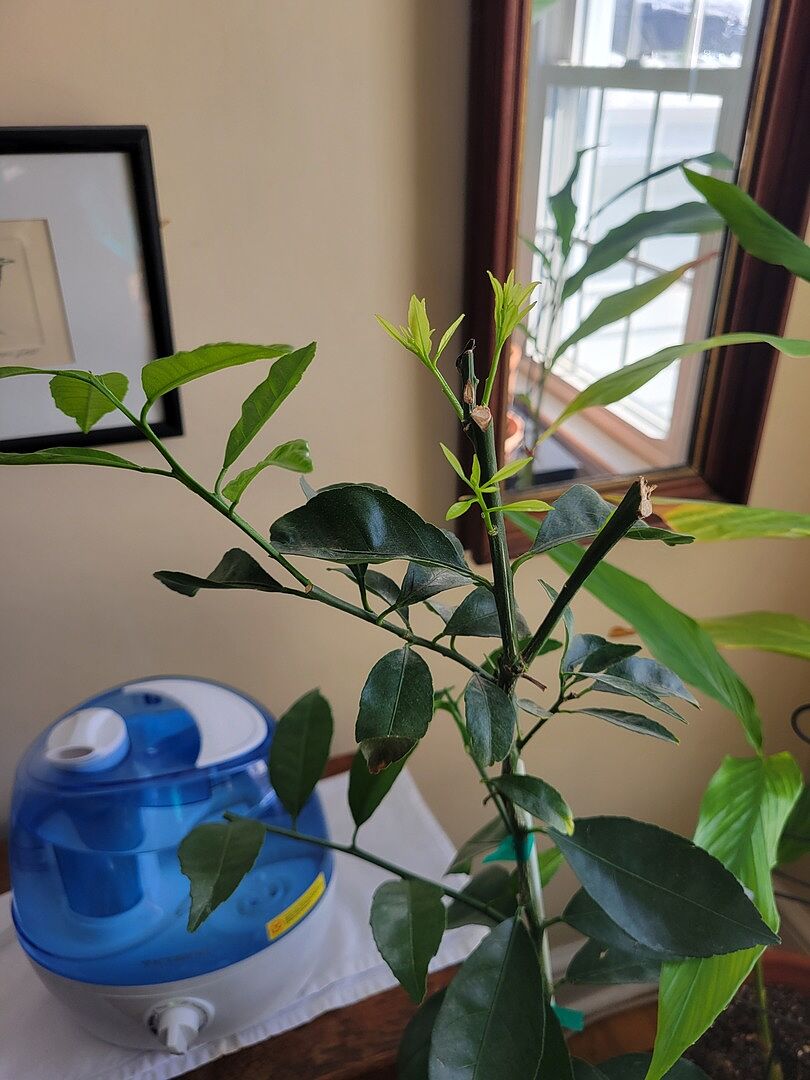
Calamondin Bush
Citrus mitis
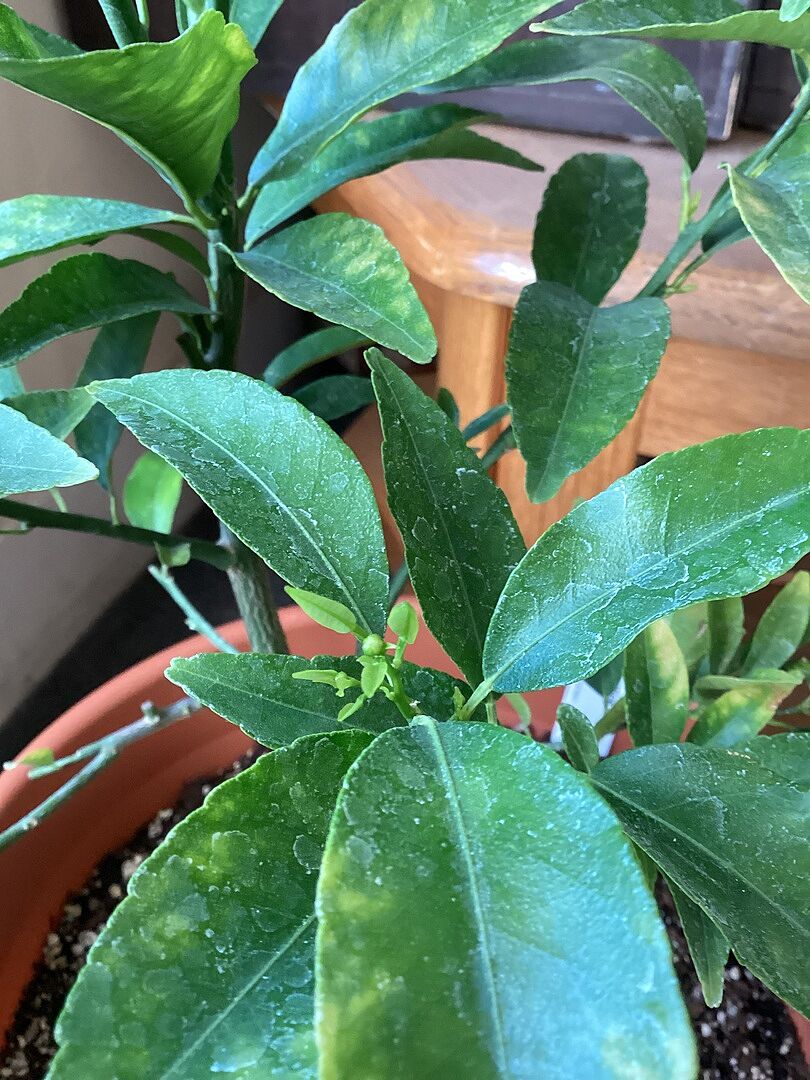
Produces small, tart oranges year-round
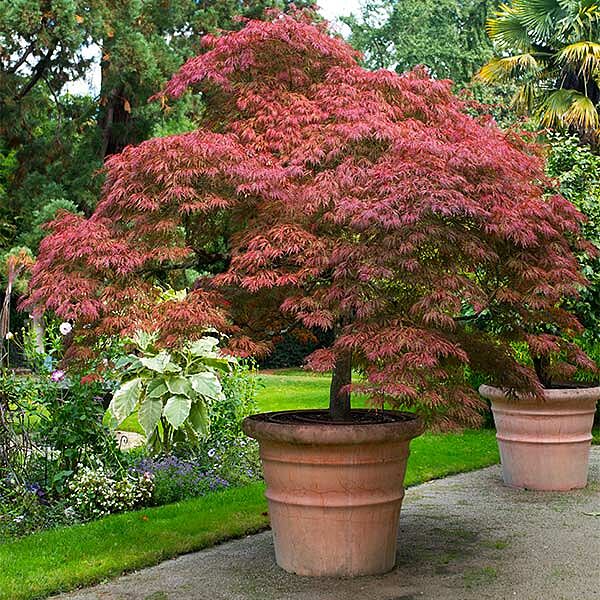
Compact size perfect for containers
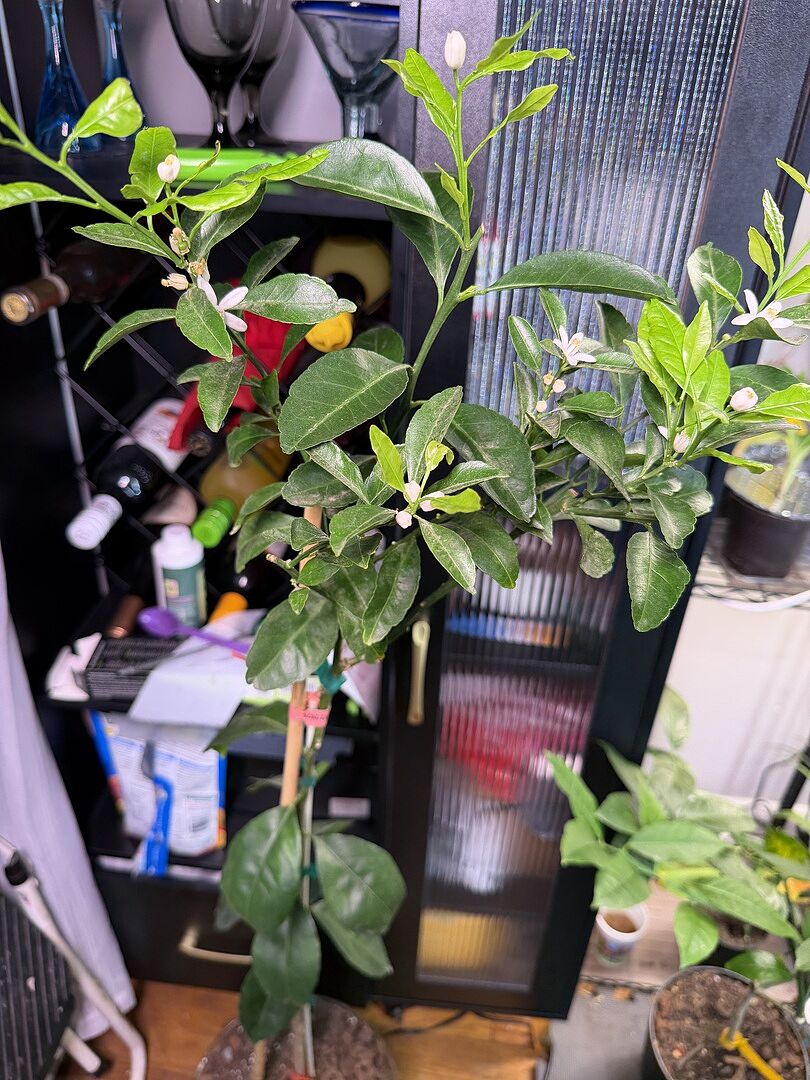
Fragrant blooms and ornamental appeal
-
- FREE 1-year Alive & Thrive™ Guarantee
- FREE Shipping on orders over $99
- In stock
Select size
Limited time only–up to 30% off your order!
Get up to 30% OFF on your order
| Discount level | Cart total |
|---|---|
20% OFF | $200–$399 |
25% OFF | $400–$599 |
| 30% OFF | $600 or more |
| Sale ends 3/16 at 11:59PM | |
Pay in 4 interest-free installments of $19.23 with ![]() Learn more
Learn more


Cold Hardy and Crisp Citrus
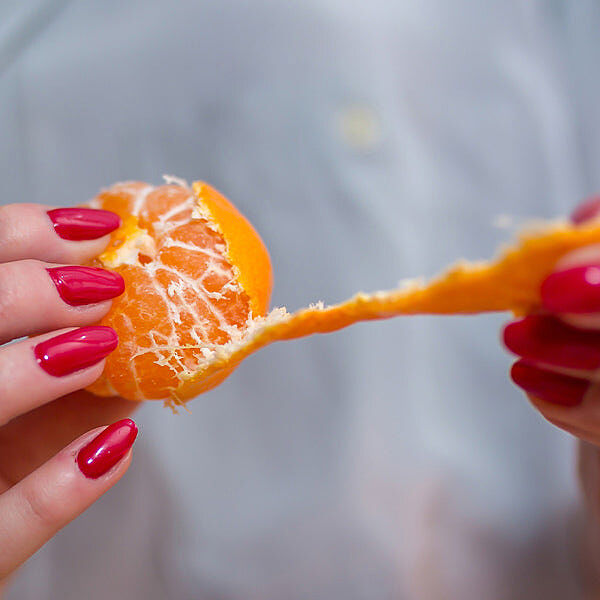
There’s nothing like the Calamondin Bush: With fruit that’s a cross between a mandarin and a kumquat, this "mini-orange,” as it’s dubbed, is wonderfully delicious.
Even better? It can be grown in a container or as a hedge. In colder climates, grow the Calamondin Bush in a container and move it indoors during winter months, or cover your outdoor bushes for chilly weather easily.
Plus, the Calamondin delights with a heavenly scent, and several flushes (harvests) of blossoms and fruit throughout the year. The yellow-orange fruit of the Calamondin Bush is about the size of a lime or a tangerine and has a thinner skin than most oranges, making it delectably delicate. It has a lightly tart taste that's perfect for marmalades, juicing, cooking and baking.
Best of all, year-round blooms give way to fruiting between June and November – and bounties after only one to two years. And younger bushes hold even more fruit.
Healthful, home-grown flavor and heightened looks – the Calamondin Bush is second to none. Order yours today!
NOTE: This product is specific to Florida. Find Calamondin Bushes available in other states.
Full Planting & Care Instructions
Product Details
| Mature Height: | 8 ft. |
| Mature Width: | 5 ft. |
| Sunlight: | Full Sun, Partial Shade |
| Growth Rate: | Moderate Growing |
| Harvest Time: | Summer, Fall |
| Botanical Name: | Citrus mitis |
| Does Not Ship To: | AK, AL, AZ, CA, GA, HI, LA, OR, TX |
| Grows Well In Zones: | 3-11 patio / 9-11 outdoors |

Growing Zones: 3-11 patio / 9-11 outdoors
(hardy down to 30℉)
Customer Reviews & Photos
Based on 1 reviews
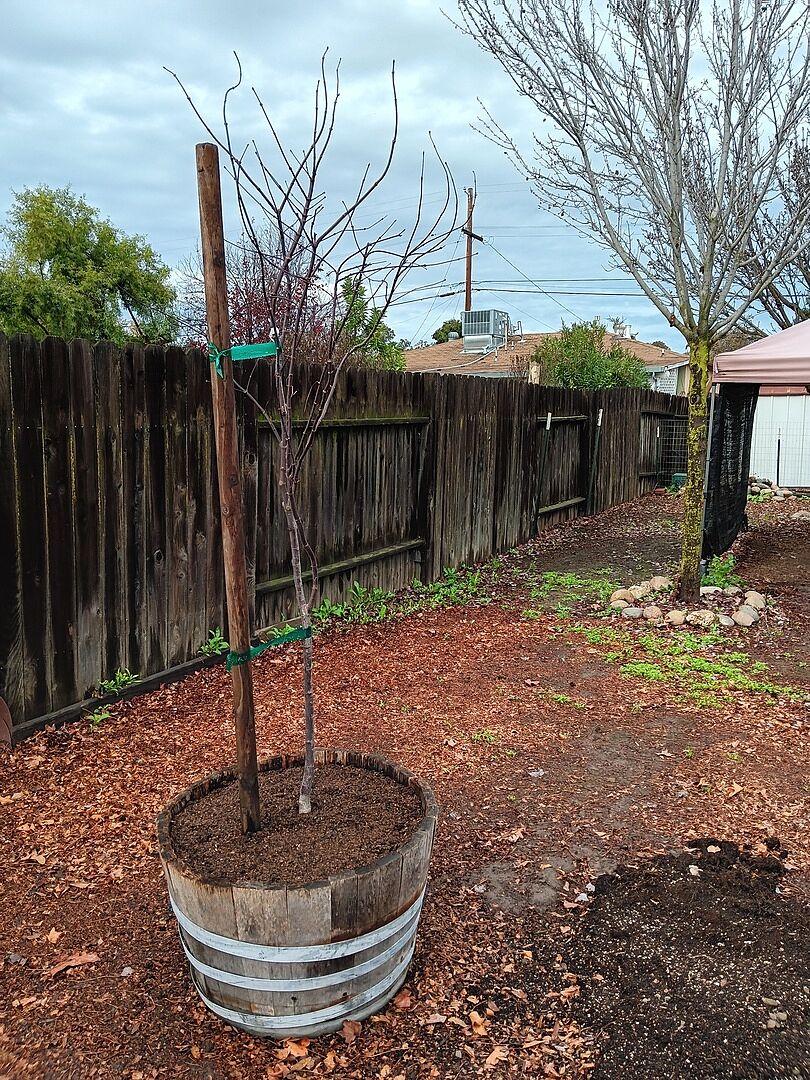
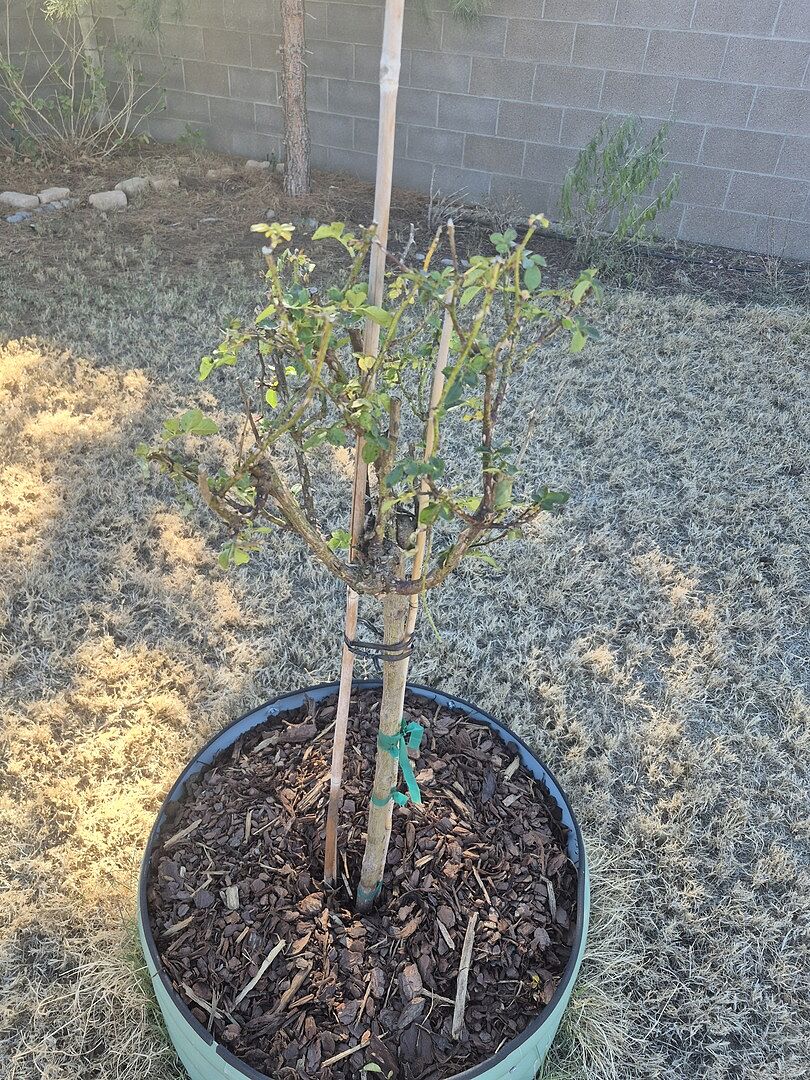
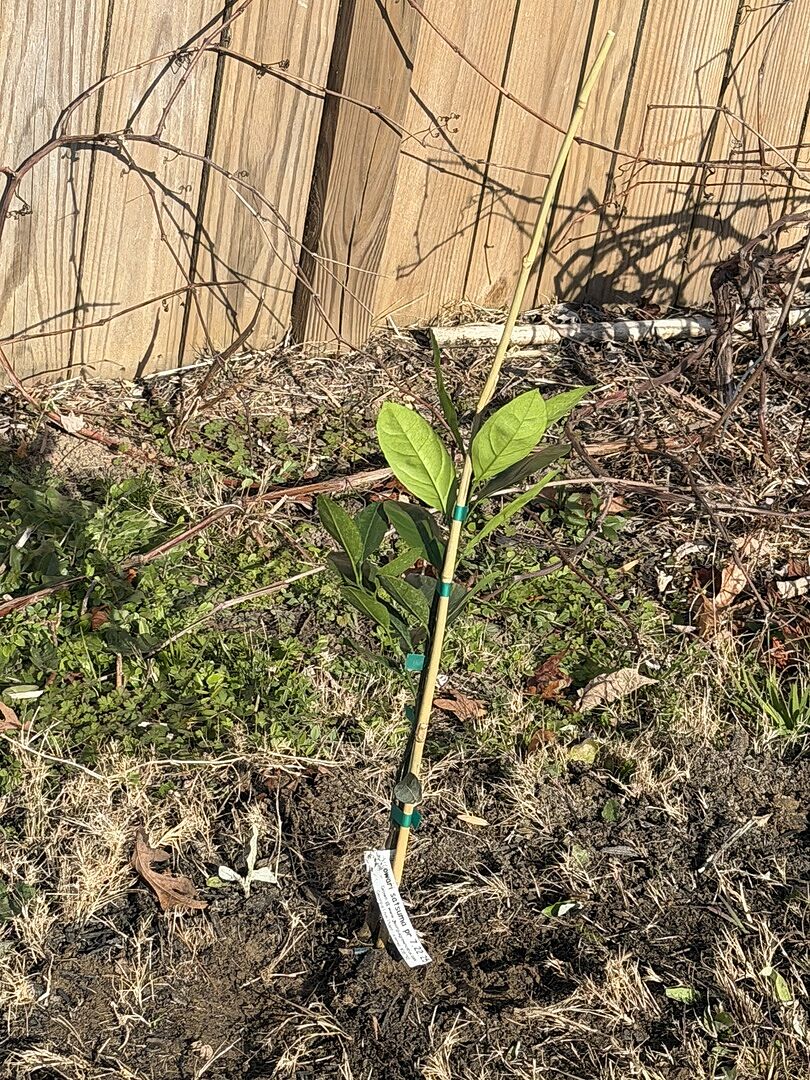
Love my Calamondin Bush! .
While I am still waiting for blossoms the bush is growing beautifully. We are all eagerly waiting for the ripe calamondins to est!