Landscape Design 101: Understanding Your Landscape

Last updated: Mar 13 2023

Get the downloadable companion worksheet here!
Every piece of art starts as a canvas—just as every beautiful landscape starts as an empty yard. Landscape design may seem a little daunting at first, but when broken down into steps, your dream garden can become a beautiful reality!
Landscape design begins with taking a look at your current space. Not doing so may lead to mistakes with your design in the future. Therefore, this first module will teach you how to:
- Define your project area
- Take a tour of your yard
- Do your legal homework
- Determine your must-dos
- Set a timeline and budget
Define Your Project Area
If you haven't done so already, now is the time to choose the location of your project. This area can be as small as a garden bed under a window or as large as your entire yard. Landscaping a garden bed will be a smaller-scale project than a whole yard, so keep in mind the time and resources available to you.
We recommend starting small to get the hang of things. Over time, you can begin designing different areas of your yard piece by piece.
If you have a larger landscape goal in mind, consider dividing your yard into zones. These zones can be defined by natural markers or areas with similar growing conditions (ex., an existing hedge, a corner with full sun, a hillside, or a wet, shady spot). Natural landmarks can help you divide the area into workable chunks.
Alternatively, you may also split up your yard by function. For example, you may have a play area, privacy hedge, garden bed, rain garden, or work area, etc. It’s up to you!
Once you’ve clearly defined your project area, begin placing yard flags or other markers to visually map out the space. Don’t forget to take photos and videos to use as references during the design step. These can also serve as “before photos” to show off your landscape’s transformation once the work is done!

Take a Tour of Your Yard
Taking a tour of your own yard may sound odd (after all, you look at it every day), but how well do you actually know the area? Challenge yourself to look at your space with fresh eyes!
As you walk around your yard:
- Notice what’s planted and growing there now. Is there anything that holds significance or sentimental value to you? Are there any plants that are doing well or poorly?
- Identify hardscape material such as stones/boulders, pathways, sidewalks etc. What condition are they in and are they in the correct place?
- How is the area currently being used? Is there a natural or manmade pathway or any space used for a specific purpose?
- Notice how you access the area. Is it off the beaten path or is there a defined entrance?
- Locate structures nearby and determine any unique features, architectural styles or colors used. Examples include power lines, houses, sheds, fences, patios, and pools.
- Is there any wildlife in the area or any that you’d like to attract (or repel)?
- Notice the topography (shape of the land). Are there any slopes, ponds, ditches, or low or high areas? Where does water flow and drain during heavy rain?
- Does the space back up to a neighboring property that you must consider?
- Does any part of the area receive harsh weather compared to the rest (i.e., high winds, overly wet or dry areas)?
This is a basic list for evaluating your project needs. Most importantly, you want to locate key features of the area and consider its overall function as it stands now. For a simple garden bed project, walk around the area and get angles from close and far away.
For a larger project like a yard, take a bit more time to immerse yourself in the area to understand what work needs to be done. During this step, try to refrain from judgment—just observe and notice what you’re starting with. You’ll be making a list of things to change or keep soon!
Do Your Legal (and Logistical) Homework
This might be the least favorite part of your landscape design, but you DO NOT want to overlook it. Look into where you live and what policies and limitations are in place.
Below are some suggestions to help guide your research:
- If you don’t own the property you’re landscaping, check with your landlord whether you’re allowed to landscape. Before you dig any holes, be sure that you have the freedom to plant what you want!
- If you live in an area with special zoning or a Homeowners’ Association (HOA), familiarize yourself with the rules and regulations.
- Are there any underground utilities that might be in the way? Locate things like power lines, septic tanks and sewers, and water, gas, cable, and internet lines.
- Know where your property lines begin and end. After all, you’re trying to landscape your yard—not your neighbor’s!
- What kind of soil do you have in your yard? Is it the same throughout, or will you need to amend the soil? Now is also a good time to contact your local extension office and do a soil test. (You can also opt for an at-home test by placing your soil sample in a jar with water and shaking it up. When it settles this will visually show you how much clay, organic matter and sand you have.)
FGT Tip: If you’re stuck, look local! Research nearby nature and conservation initiatives and/or contact your local extension office. It’s an excellent resource for understanding your landscape.
Determine Your Must-Dos and Take Notes
Now that you know your canvas a little better, it’s time to get critical. Note things you like and dislike to determine what work is required to bring your design to life!
- Make note of any potential hazards or repairs that’ll need to be made.
- List plants that you’d like to keep and those you wish to remove.
- Note any earthwork that’ll need to be done to shape the land (ex., even out high or low areas).
- Locate how the sun moves through the yard and which spots receive more sun or more shade.
- Determine whether you’ll need to address any environmental challenges. For example, if you experience a lot of erosion due to the slope of the property, you’ll need to factor that into your design.
- Consider how much time and effort you’re willing to put into maintaining your yard. (This is something we’ll elaborate on later in this course.)
- Think about any construction that may be needed for sidewalks, retaining walls, or other features.
Simplify your note-taking through our printable companion worksheet. Free to download, it will help you keep track of every step mentioned in this module.
Set a Timeline and Budget
It's going to take time and energy to landscape your yard, so figure out which parts you plan to take on yourself and which parts you’ll need extra help.
A landscape project that’s fully hired out will involve three main teams:
- The team who surveys your yard to map it out
- The landscape architect who designs the space
- The team who installs the landscaping from mulch to pouring concrete
Hiring professional help can be costly, so many people choose to stretch their budget by doing everything themselves.
Is the DIY Route for You?
Larger projects may require rented equipment or a landscaping crew to install and make your vision come to life. Begin researching local companies and decide how much you’re willing to spend. Setting a budget for labor will help keep you on track and eliminate financial stress.
Example Project Timeline
Even if you plan to work with professionals, getting to know your yard, taking detailed notes, and determining what you want out of the space will go a long way in helping you reach your end goal. Below, we’ve included an example to use as inspiration for your own project.
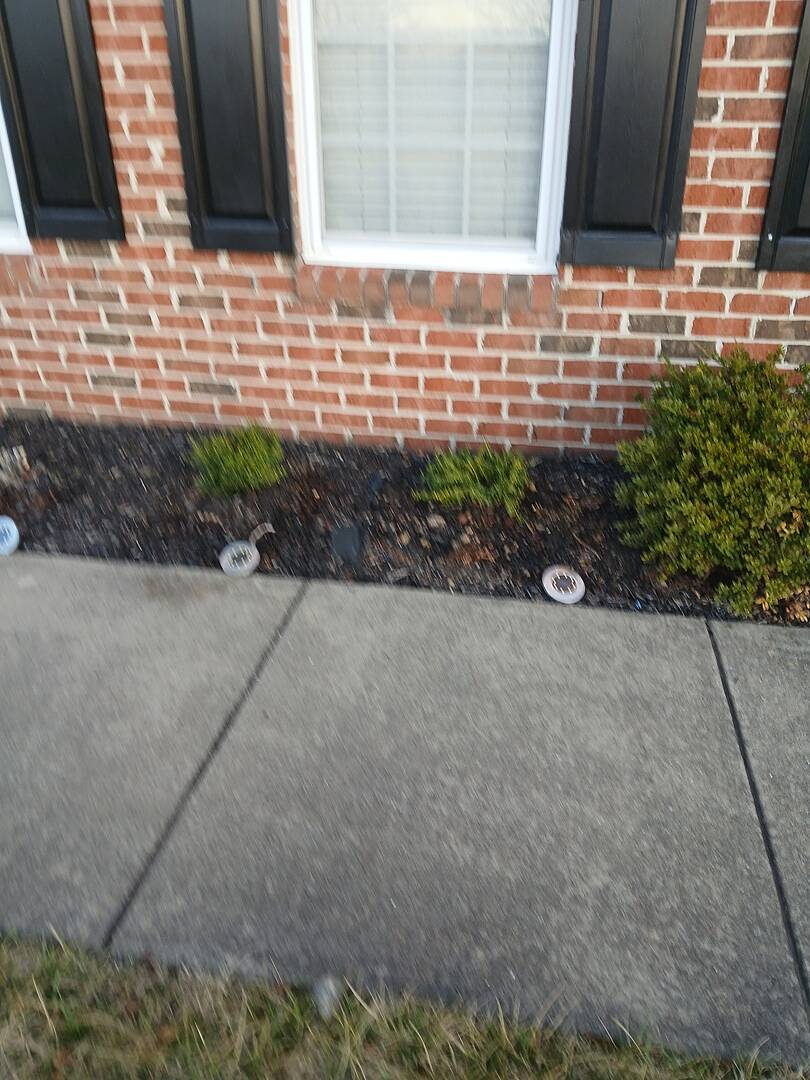
Project Area: Planting bed in front of the living room window—a rounded circle, about 10 ft. long and 8 ft. deep.
- Week 1: Make observations of the area and determine what needs to be changed or repaired. Take notes and investigate limitations or any hazards. Do your homework and take “before photos.”
- Week 2: Gather inspiration, create a vision for the planting bed and draw it out. Measure the space and formulate a plan.
- Week 3: Finalize the design and order plants. Make any repairs and prepare the planting area.
- Week 4: Plants have arrived, and it’s planting day. Get your plants situated, water them well, and take “after photos.”
Landscape Design Is for Everyone!
Landscaping isn't some secret superpower that only a select few are gifted with. While this first step may seem less exciting, it builds a solid foundation for the rest of the project. Keep following along through this course, and you just might be surprised by what you can create. If you can take the right steps, you can landscape your yard!
Don't forget to download and print our Initial Walk-Through Checklist & Worksheet to get started planning your landscape!
Plus, check out the rest of our Landscape Design 101 course to keep learning and transform your landscape! And be sure to shop our wide selection of trees and shrubs to really take your space to the next level.

Written by
Meredith Gaines
Meredith's love for plants started at a young age, and only grew when she started working in the Desert Exhibit at the South Carolina Botanical Gardens and the Historic Filoli Estate in the Bay Area. After graduating from Clemson University (GO TIGERS!) with a degree in Biology and Horticulture, she found her niche in the FastGrowingTrees.com family as a horticulturist and has grown in her current role as Senior Plant Expert.
She currently resides in her hometown of Charlotte, North Carolina, and enjoys spending any time she can outdoors. She learns new things about plants every day and loves sharing her plant knowledge and tips with those around her. Her favorite plant is constantly changing, but her long-time favorites are peonies, oak trees, and ferns.
Featured Product

Tulip Poplar Tree
252 reviewsStarting at $114.95


